Who says you have to spend a fortune on baby toys? Not us! We believe in the power of DIY baby&toys, which are not only cost-effective but also a fantastic way to add a personal touch to your little one’s toy collection. Whether you’re an experienced crafter or just getting started, we’ve got 10 DIY baby&toys projects that are easy to make and perfect for any skill level. So grab your materials and let’s get crafting!
What You Know about DIY Baby&Toys
Why not just buy from stores?
Well, there are many reasons why DIY toys for your baby can be a great idea for your kids to play & learn!
- First and most importantly, making your own toys can be such a fun and rewarding thing to do for both you and your baby. It’s a great way to spend quality time together, to bond with your kids while creating something unique that your little one will cherish.
- Plus, DIY toys can be much more affordable than store-bought toys, which can save you money in the long run. And also, when you make your own toys, you have more control over the materials used, which means you can create toys that are safe, non-toxic, and free from harmful chemicals.
- Making your own toys can also be a great way to stimulate your baby’s creativity and imagination. By using materials such as fabric, cardboard, and household items, you can create toys that encourage your baby to explore and learn in new ways.
- DIY toys are not only cost-effective and fun to make, but they can also be great for encouraging open-ended play and fostering your baby’s imagination. Unlike many store-bought toys that are often designed to grab a child’s attention with flashy lights and sounds, DIY toys are more simple and focused on the act of playing itself. This means that your baby will have the freedom to explore and create their own play scenarios, which can be great for developing problem-solving skills and creativity.
- And let’s not forget that DIY toys are a fantastic way to recycle materials from around the house! Not only does this help reduce waste, but it can also teach your little one the importance of sustainability and being mindful of our planet.
So why not get started on some DIY toys today? You never know what amazing creations you and your little one will come up with, and the possibilities are truly endless. Plus, you’ll have the satisfaction of knowing that you’re providing your baby with toys that are not only fun and engaging, but also educational and eco-friendly.
Where to start your 1st DIY Baby&Toys Project?
If you’re new to DIY toy-making, it can be overwhelming to know where to start. Here are a few ideas to get you started:
- Look online: There are many blogs and websites dedicated to DIY toys and crafts. You can browse for ideas and tutorials that interest you and your baby.
- Start simple: It’s best to start with simple projects and gradually work your way up to more complex ones. Simple toys, like sensory bottles or cardboard playhouses, are great for beginners.
- Gather materials: Take a look around your home and see what materials you already have on hand. You can also purchase materials at craft stores or online.
- Involve your kid: Depending on your kid’s age, they may be able to help you with the project. This can be a great opportunity to bond and create something together.
- Have fun: Remember, the most important part of DIY toy-making is to have fun! Don’t worry too much about making the perfect toy – the process is just as important as the end result.
By starting small and building your skills, you’ll soon be able to create all kinds of amazing toys for your baby. And who knows, you might just discover a new hobby along the way!
Which materials to use?
Many DIY-enthusiastic moms like to keep a stash of materials on hand for whenever inspiration strikes. This can include things like old cardboard boxes, fabric scraps, and wooden blocks, along with other materials that can be repurposed for play.
By keeping these materials in a designated spot, you’ll always have something on hand when you and your little one want to create a new toy. Plus, it’s a great way to reuse materials that might otherwise end up in the trash.
You don’t need a lot of space to create a DIY baby&toys stash either. Even a small corner of a closet or a drawer can be enough to store your materials. Just be sure to keep them out of reach of your little one until you’re ready to use them, so that they don’t accidentally get into anything that could be dangerous.
Here are some materials that you can use to create your own toys:
- Cardboard boxes: These can be cut and decorated to create everything from playhouses to cars.
- Fabric scraps: Old clothing, blankets, and other fabrics can be used to make stuffed animals, sensory toys, and more.
- Wooden blocks: Simple wooden blocks can be used to build towers, castles, and other imaginative creations.
- Empty containers: Plastic bottles, jars, and other containers can be cleaned out and repurposed as sensory bottles or sorting toys.
- Pipe cleaners: These bendable wires can be used to make everything from animals to jewelry.
- Recyclables: Old newspapers, magazines, egg cartons, and other recyclable materials can be turned into collages, sculptures, and other art projects.
- Natural materials: Items such as rocks, shells, and pinecones can be collected and used for sensory play or as part of a nature-themed toy.
These are just a few examples of the many materials that can be used to create DIY toys. With a little bit of creativity and imagination, you can turn almost anything into a fun and engaging toy for your baby.
10 Simple DIY Baby&Toys Projects for Beginners
Sensory Bottles
Difficulty: 2/5
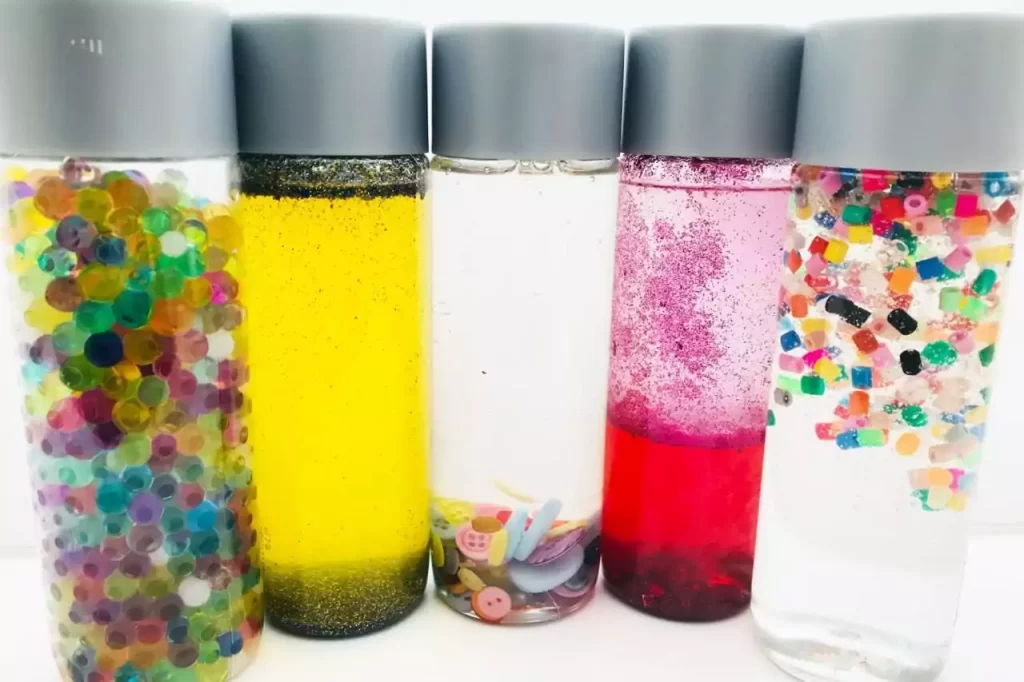
Sensory bottles are a simple and fun DIY baby&toys project that can provide hours of entertainment for your baby. To make them, you will need empty plastic bottles (such as water bottles or baby food jars), water, glitter, and small toys or objects.
- First, fill the bottles about 3/4 of the way full with water.
- Then, add a handful of glitter and a few small toys or objects. You can use anything that is safe and small enough to fit in the bottle, such as beads, buttons, or small plastic animals.
- Once you have added the glitter and toys, seal the bottle tightly and shake it up. Your baby will love watching the glitter swirl and the objects move around inside the bottle. You can also add food coloring to the water for an extra colorful effect.
Sensory bottles are a great way to engage your baby’s senses and encourage exploration and curiosity. They are also a safe and mess-free alternative to traditional sensory play activities.
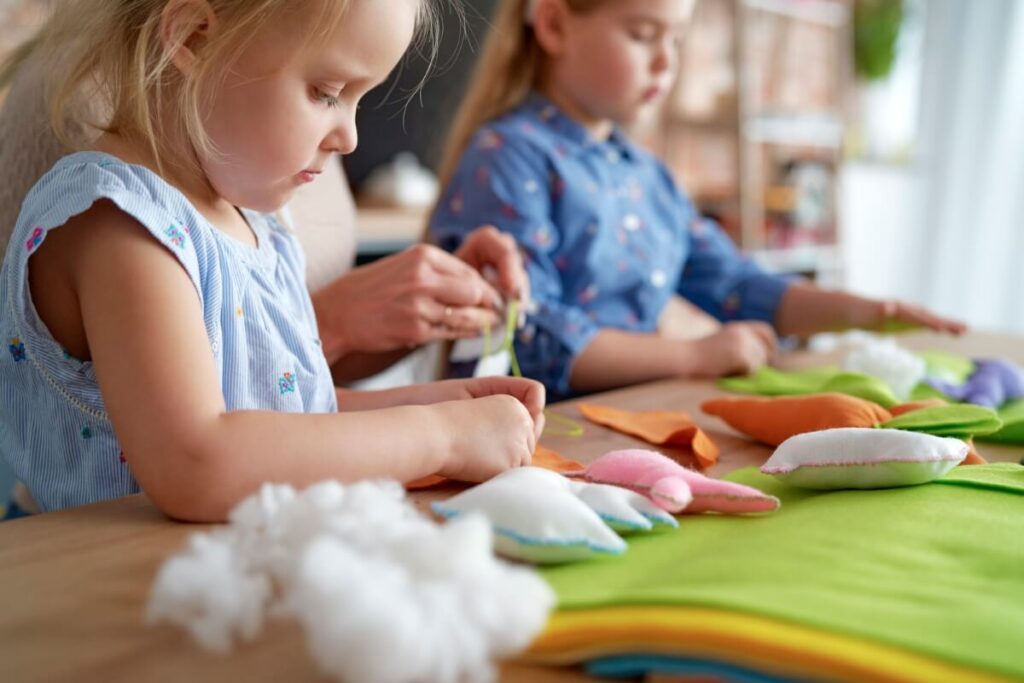
Fabric stacking blocks
Difficulty: 4/5
Fabric stacking blocks are a wonderful DIY baby&toys project that can provide your baby with hours of entertainment while also improving their motor skills and hand-eye coordination. To make them, you will need a variety of fabrics in different colors and patterns, scissors, a sewing machine, and stuffing or beans.
- Begin by cutting squares of fabric in different sizes. You can make the blocks as big or small as you like, but they should be easy for your baby to hold and stack.
- Next, stack the squares on top of each other in a pyramid shape, with the largest square on the bottom and the smallest on top.
- Once you have your fabric squares stacked in the right order, sew them together along the edges, leaving one side open.
- Then, turn the blocks right side out and fill them with stuffing or beans to make them soft and squishy. Finally, sew up the open side of the block to complete the project.
Fabric stacking blocks are a great way to introduce your baby to different colors, patterns, and textures. They can also help develop their cognitive and motor skills as they learn to grasp and stack the blocks.
Felt board
Difficulty: 3/5
Felt board is a fun and easy DIY baby&toys project that can encourage your baby’s creativity and imagination. All you need is a large piece of felt, some colorful felt sheets, scissors, and glue or Velcro strips.
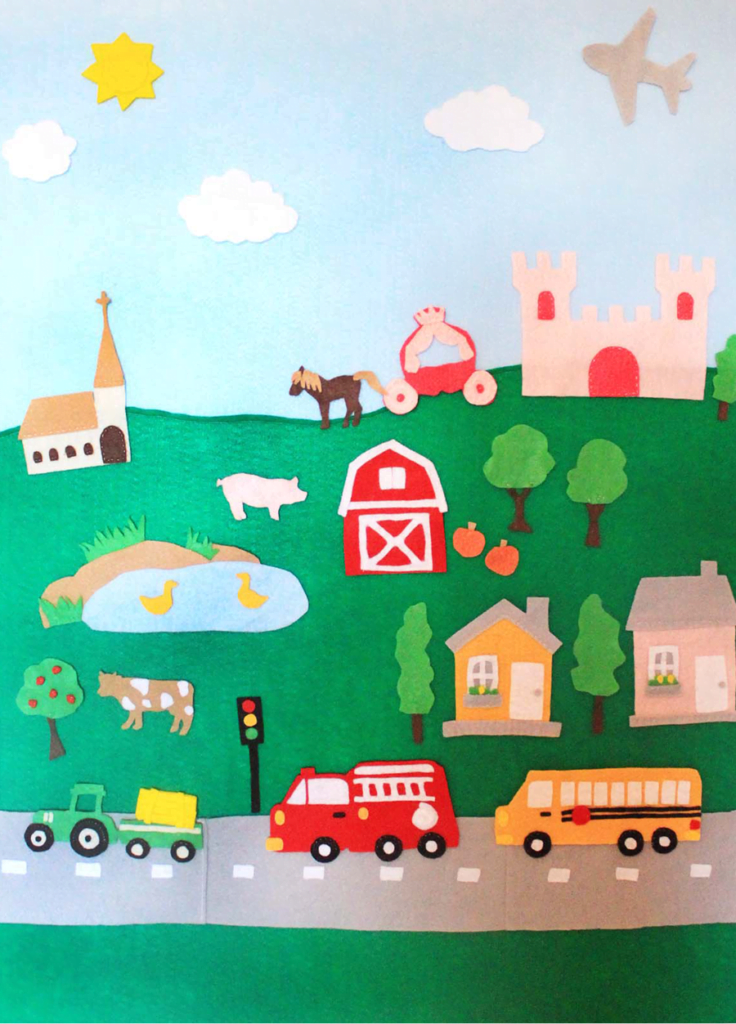
- Begin by cutting out different shapes and animals from the felt sheets. You can make triangles, circles, squares, animals, and anything else you think your baby will enjoy playing with. Once you have all your shapes ready, attach a Velcro strip or glue to the back of each shape.
- Next, attach the large piece of felt to a board or wall where your baby can easily reach it. Then, simply let your baby play with the felt shapes and animals by arranging and rearranging them on the board.
A felt board can help your baby develop their fine motor skills, hand-eye coordination, and problem-solving skills. It also provides a great opportunity for sensory play and learning about different shapes and colors. So why not try making one for your baby and see how much fun they can have with it!
Not only felt board, you can also use felt to create a handmade mobile crib hanging for your baby.
Hang the mobile above your baby’s crib and watch as they gaze up at the colorful and playful shapes. A handmade felt mobile crib hanging is not only a fun and practical DIY project, but it can also provide a calming and soothing effect for your baby during naptime or bedtime.
Wooden teething rings
Difficulty: 4.5/5
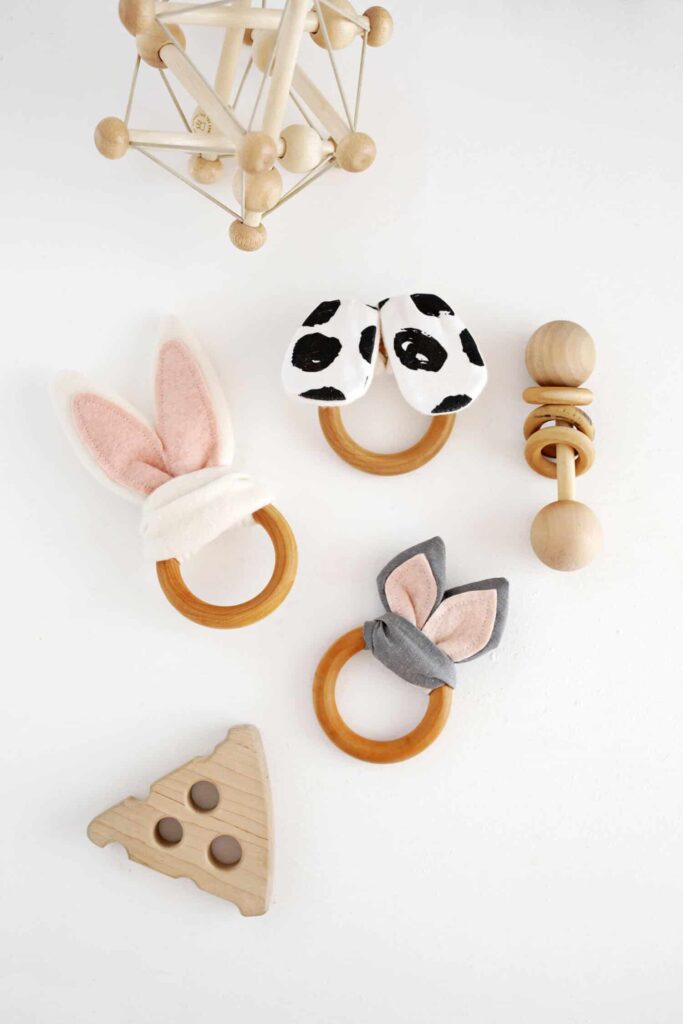
Wooden teething rings are a great DIY baby&toys project for parents who want to create a natural and safe teething toy for their baby. To make them, you’ll need some wooden rings, sandpaper, and fabric.
- Start by sanding down the wooden rings to make them smooth and safe for your baby to put in their mouth.
- Next, cut small fabric squares and wrap them around the rings, tying them off securely with knots or glue.
The fabric squares can be made from soft and breathable materials like cotton or muslin, which are gentle on your baby’s gums and won’t cause any irritation or discomfort. You can even choose fabrics with different textures or patterns to provide additional sensory stimulation for your baby.
Wooden teething rings are a great alternative to plastic or rubber teething toys that can contain harmful chemicals and be difficult to clean. They are also a more sustainable choice, as they can be reused and even passed down to future generations.
And the best part? Not only practical, wooden teething rings can also make a great keepsake or gift for other parents.
No-sew sock puppets
Difficulty: 2/5
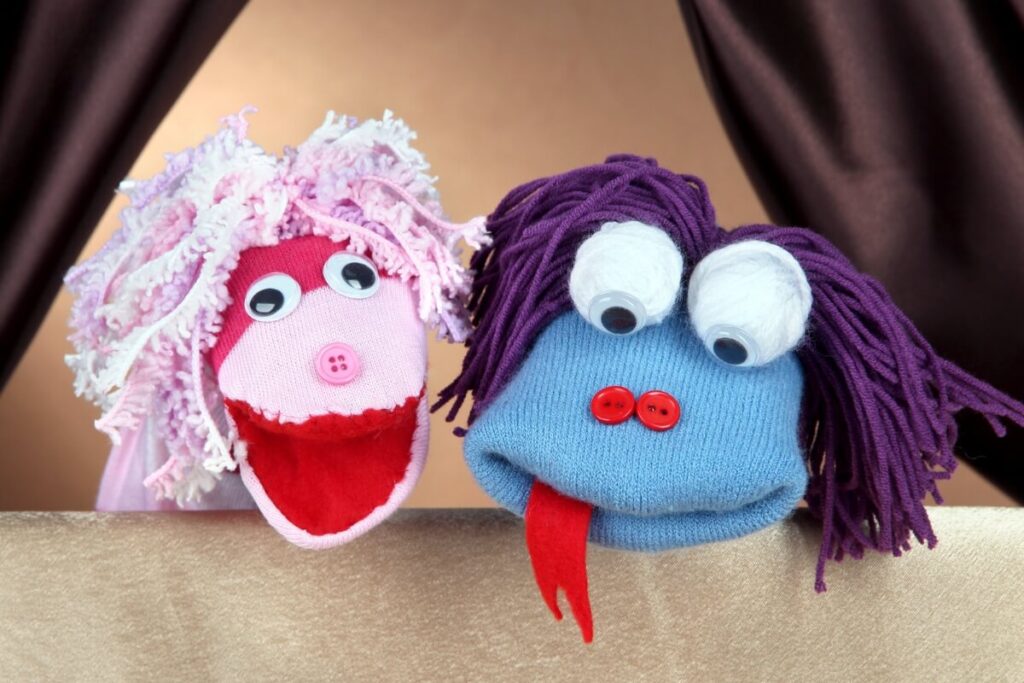
No-sew sock puppets are a fun and easy DIY baby&toys project that even beginners can make. All you need are some old socks, glue, and felt to create simple and silly puppets that your baby will love.
- To start, choose a pair of socks and decorate them with felt shapes or fabric markers to create the face and features of your puppet. You can add eyes, a nose, a mouth, and even ears or hair to make your puppet unique and playful.
- Next, stuff the socks with cotton balls, fabric scraps, or even old socks to give them a full and squishy body. Then, use glue or fabric tape to attach the felt shapes to the sock to create the facial features.
No-sew sock puppets are a great way to encourage imaginative play and storytelling for your baby. You can use them to create your own puppet show or just have fun making silly voices and faces together.
One of the best things about no-sew sock puppets is that they can be made using materials you already have at home, making them a great way to recycle and upcycle old socks and felt scraps.
In addition to being a fun and creative activity for you and your baby, no-sew sock puppets can also help develop fine motor skills and hand-eye coordination as your little one manipulates the puppets and explores their features.
Cardboard box playhouse
Difficulty: 3/5
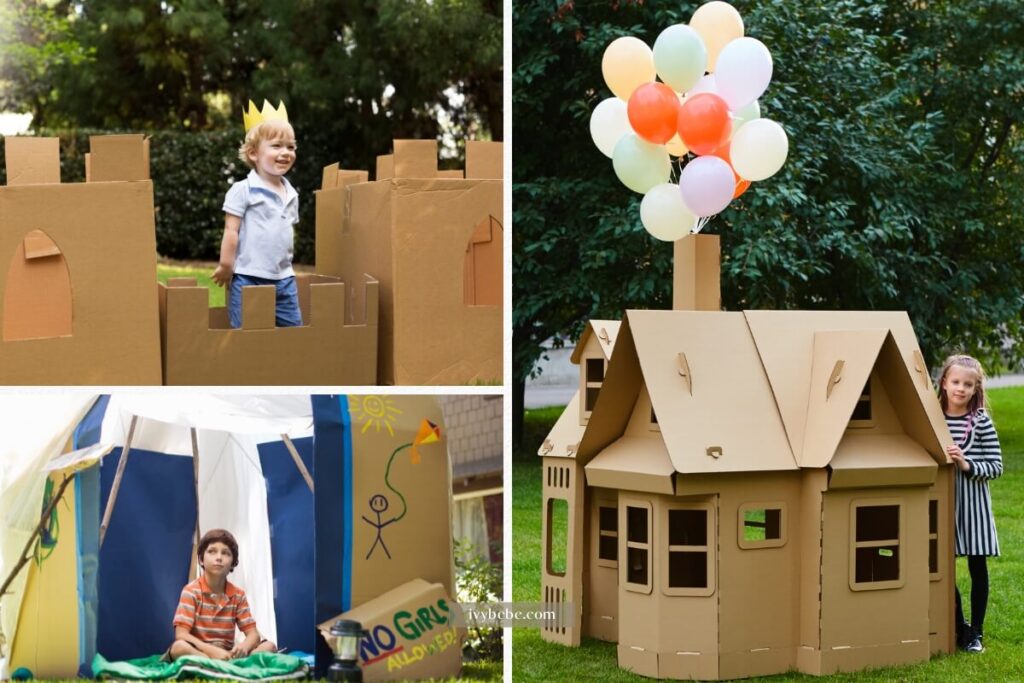
Creating a cardboard box playhouse is a fun and easy DIY baby&toys project for your baby.
- You can start by finding a large cardboard box, such as an appliance box or a moving box, and cutting out openings for doors and windows.
- Then, decorate the outside of the box with paint, markers, or stickers to make it more visually appealing for your baby.
- Inside the playhouse, you can add soft blankets or pillows for your baby to crawl on, or even hang some toys or sensory items from the ceiling. This will create a cozy and stimulating environment for your baby to explore.
The cardboard box playhouse can also be a great opportunity for your baby to engage in imaginative play, pretending to have their own little house or hideout. It’s a cost-effective and eco-friendly way to create a fun play space for your baby.
Paper plate tambourine
Difficulty: 2.5/5
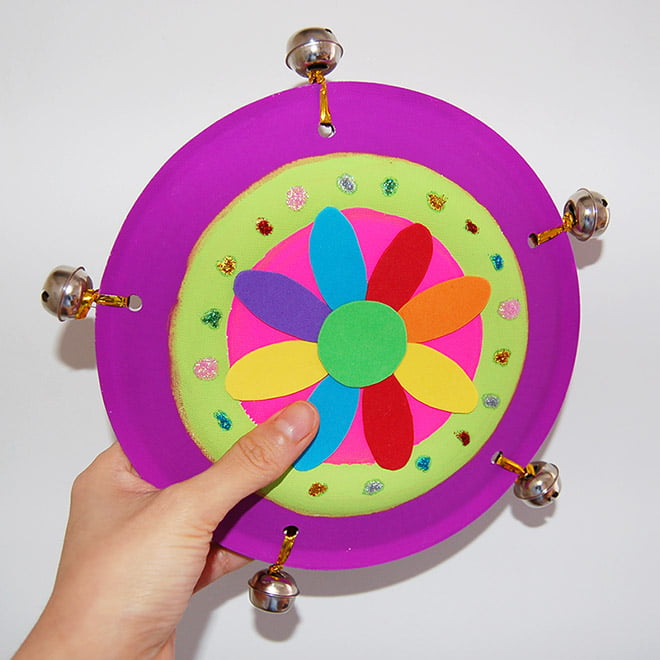
Making a paper plate tambourine is a simple and engaging DIY baby&toys project that is perfect for babies and toddlers. The materials needed are easy to find and likely to be already available in your home.
- To create a paper plate tambourine, staple two paper plates together and fill them with dried beans, rice, pasta, or any other small material that makes a sound when shaken.
- Once the plates are secured and filled, it’s time to get creative with the decoration. You can use markers, stickers, glitter, or even paint to make the tambourine colorful and visually appealing. By adding different textures, colors, and patterns, you can also enhance your baby’s sensory experience while playing with the tambourine.
The paper plate tambourine is a versatile toy that can be used in different ways. Babies can hold it and shake it to create noise and explore the different sounds. Toddlers can also use it to accompany music and dance, fostering their creativity and imagination.
This DIY project not only provides a fun and stimulating toy for babies but also offers an opportunity to repurpose and recycle materials from around the house. Plus, making the tambourine together can be a fun bonding activity for parents and babies alike.
Sensory board
Difficulty: 3/5
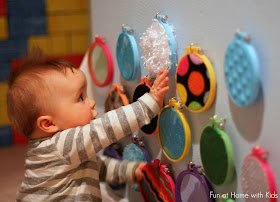
A sensory board is a fun and interactive DIY baby&toys project for your little one! All you need is a large board and a variety of textures and materials to attach to it.
Think outside the box and include items like bubble wrap, sandpaper, feathers, and even buttons or zippers. Your baby will love exploring the different textures and sensations with their hands and fingers. You can even label the different materials to help your baby learn new words and concepts.
Not only is it a great sensory experience, but it also encourages fine motor skills and imaginative play. Plus, you can easily customize it to fit your baby’s interests and needs.
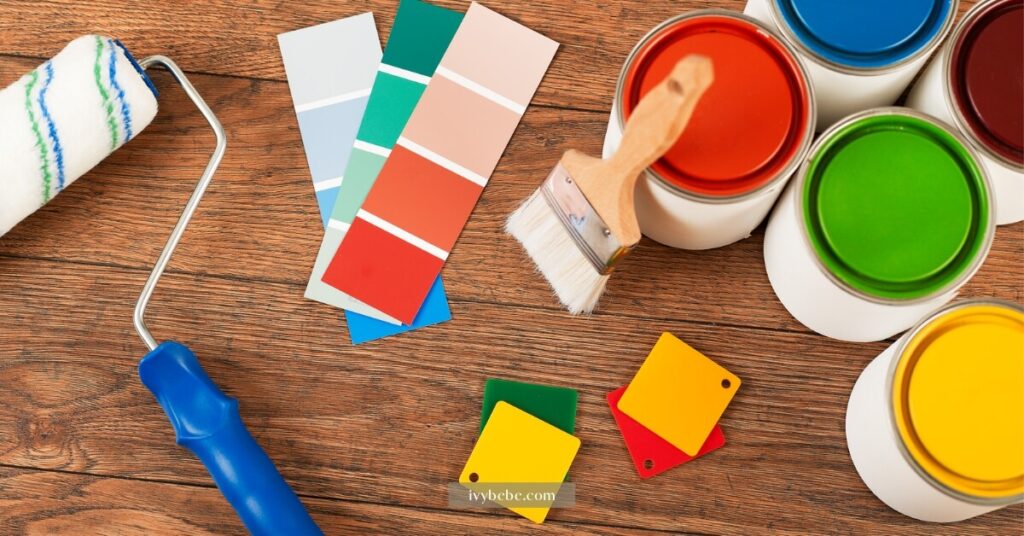
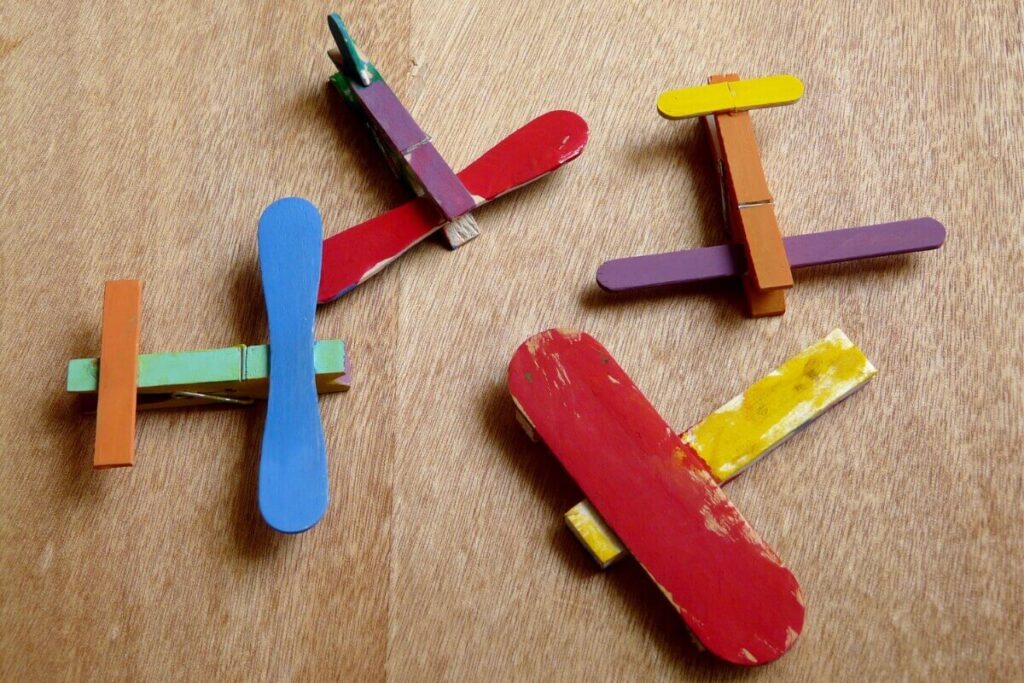
Painted wooden blocks
Difficulty: 1/5
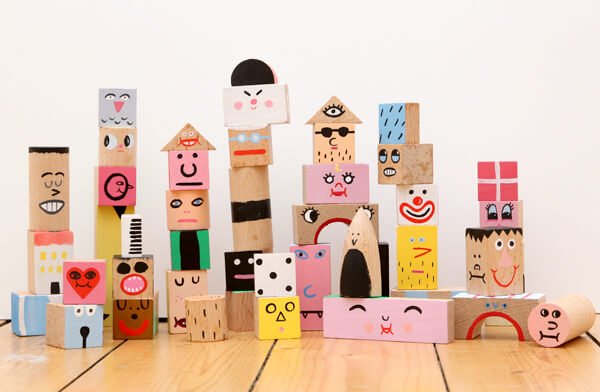
Painted wooden blocks can be a fun and creative DIY baby&toys project for both you and your baby.
- First, you’ll need to sand down the wooden blocks to make sure they’re smooth and safe for your little one to play with.
- Next, you can let your baby go wild with non-toxic paint, creating their own unique designs on each block.
Not only is this a great way to stimulate your baby’s creativity, but it can also be a fun way for you to bond with your little one while making something together. Plus, wooden blocks are a classic toy that will last for years to come.
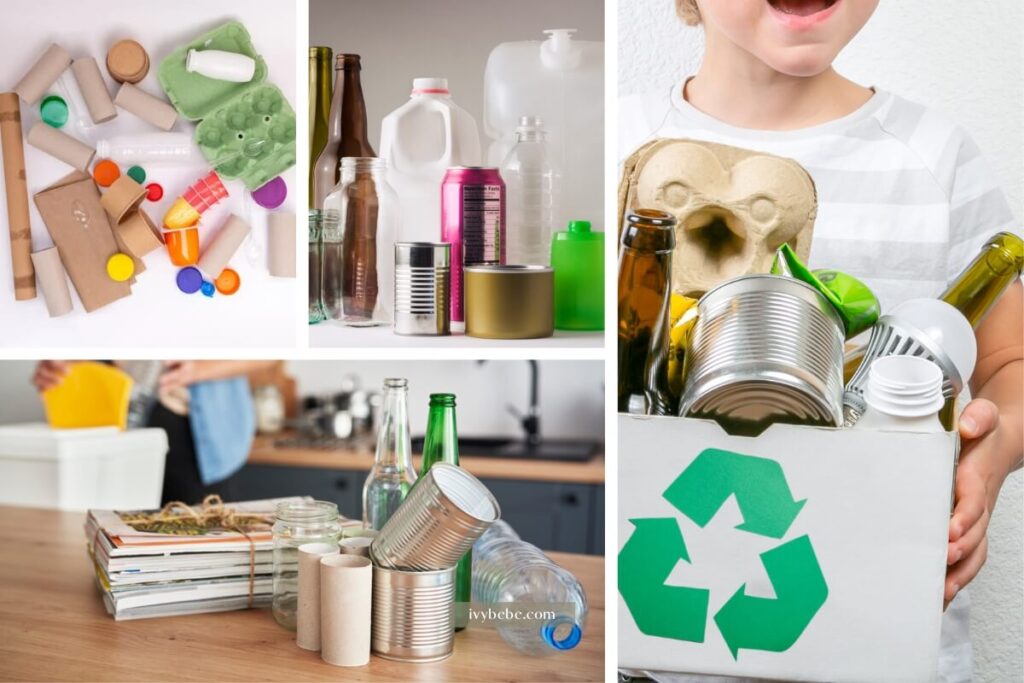
Recycling art projects
Difficulty: 2.5/5
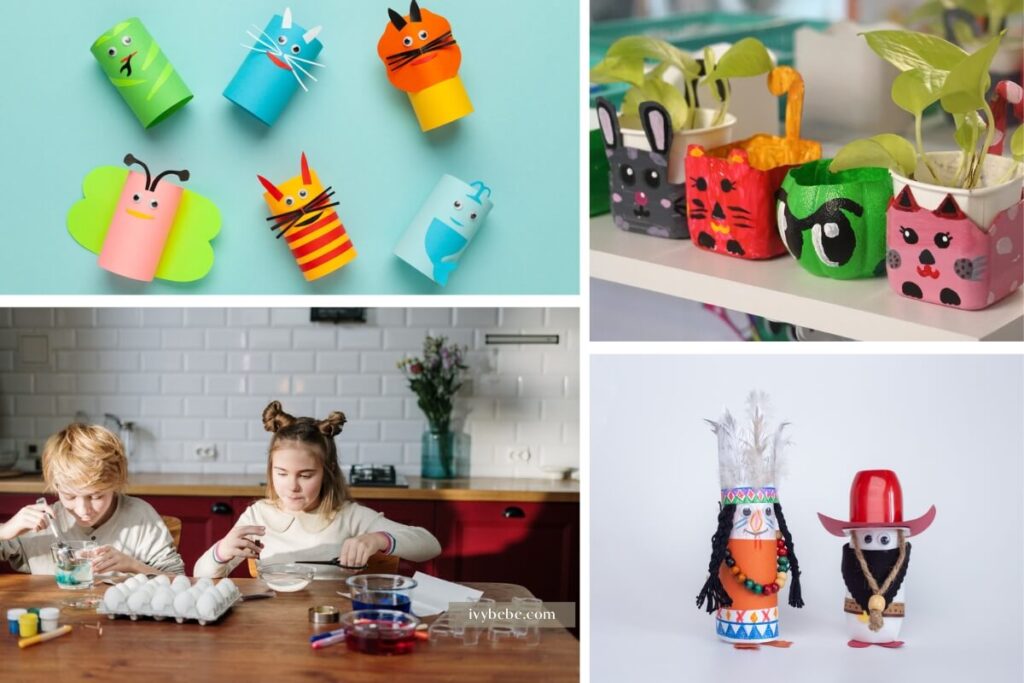
Have you ever thought about upcycling old paper pen boxes or plant pots or even creating new ones with used materials with your little ones? This DIY baby&toys project is a great way to teach them about recycling and get their creative juices flowing. You can encourage them to decorate the boxes or pots with paint, markers, or even decoupage with old magazines or wrapping paper.
To make it even more fun, you can have a mini art project with your kids and make your own paints with natural materials like beetroot or turmeric. It’s a great way to have fun and learn about sustainable living at the same time. And when you’re finished, you’ll have a beautiful and functional container for your pens, pencils, or even plants.
To sum it up, DIY baby&toy projects can be both fun and practical. Not only do they provide a creative outlet for parents and caregivers, but they also offer open-ended play and educational opportunities for babies and young children. By using recycled materials and simple techniques, even beginners can create handmade toys that will be cherished by little ones. So why not give it a try and see what you and your child can create together?